ROS 사용 튜토리얼
본 문서는 ROS의 기본 사용 방법을 설명하며, 작업 공간 생성, URDF 모델 구성, MoveIt을 통한 로봇 제어, C++ 프로그래밍 제어 등을 포함합니다. 비디오 튜토리얼 NexDroid과 ROS 결합 - 연결 및 사용과 함께 학습할 수 있습니다.
1. 작업 공간 생성
mkdir -p ~/inexbot/src
cd ~/inexbot/src
catkin_init_workspace
만약 이상이 발생하면:
다음 명령을 실행합니다:
ls -al ~/inexbot/src이후 작업 공간 초기화 명령을 다시 실행합니다:
catkin_init_workspace
cd ../
catkin_make
2. ~/.bashrc 구성
gedit ~/.bashrc파일 맨 끝에 다음을 추가합니다:
source ~/inexbot/devel/setup.bashinexbot 기능 패키지를 ~/inexbot/src 디렉터리에 복사합니다.
3. MoveIt 구성
MoveIt 설치
새 터미널을 열고 다음을 실행합니다:
sudo apt-get install ros-melodic-moveit
source /opt/ros/melodic/setup.bash
sudo apt-get install ros-melodic-moveit-resources
MoveIt Setup Assistant 실행
cd ~/inexbot
source ./devel/setup.bash
roslaunch moveit_setup_assistant setup_assistant.launch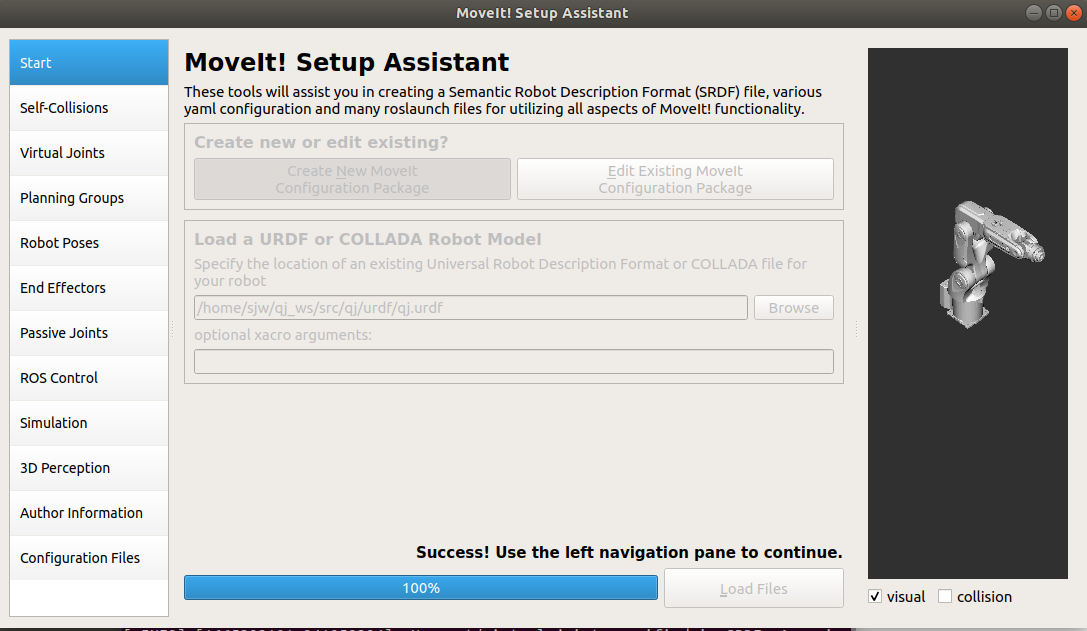
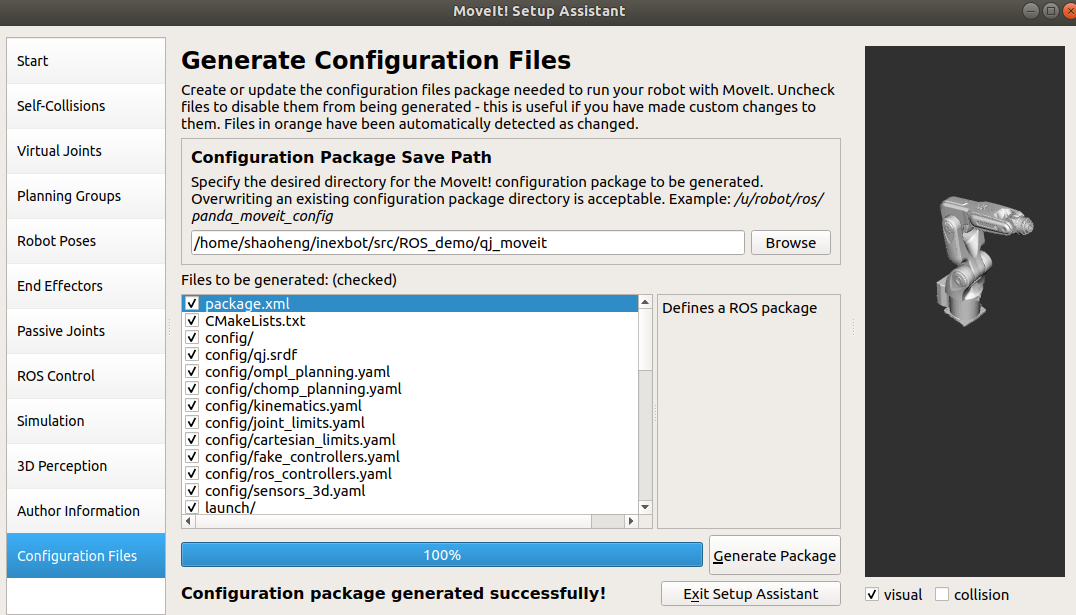
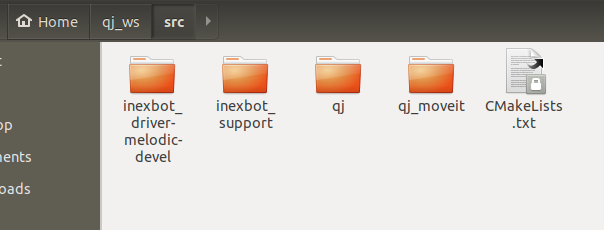
inexbot_driver 파일의 두 폴더 및 생성된 moveit 파일을 복사해 넣습니다:
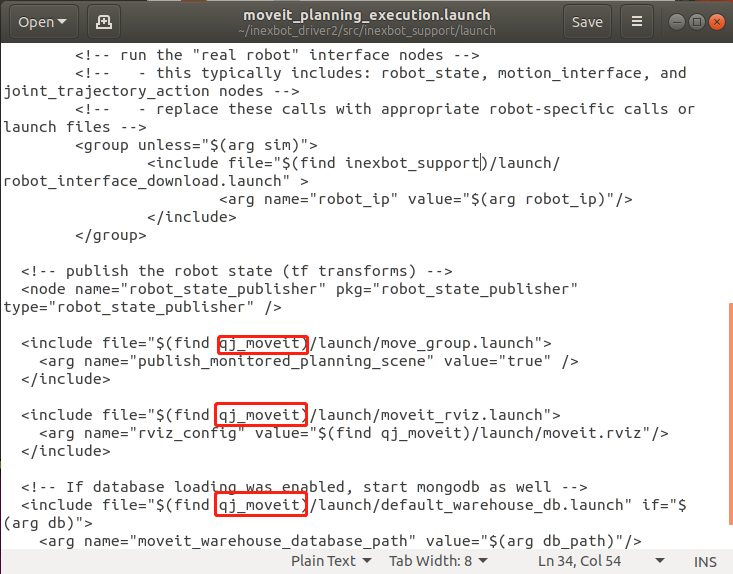
qj_ws/src/inexbot_support/launch 내 moveit_planning_execution.launch의 모든 기본 moveit 폴더 이름을 qj_moveit(moveit 폴더의 실제 이름)으로 변경합니다:
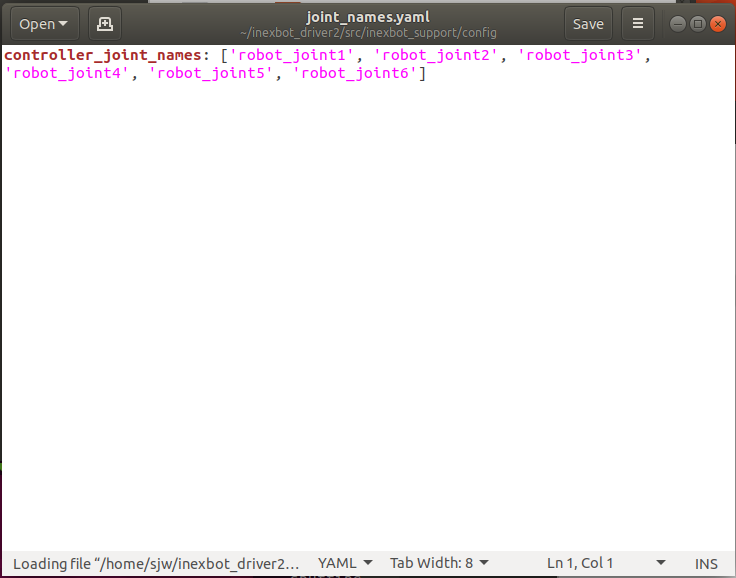
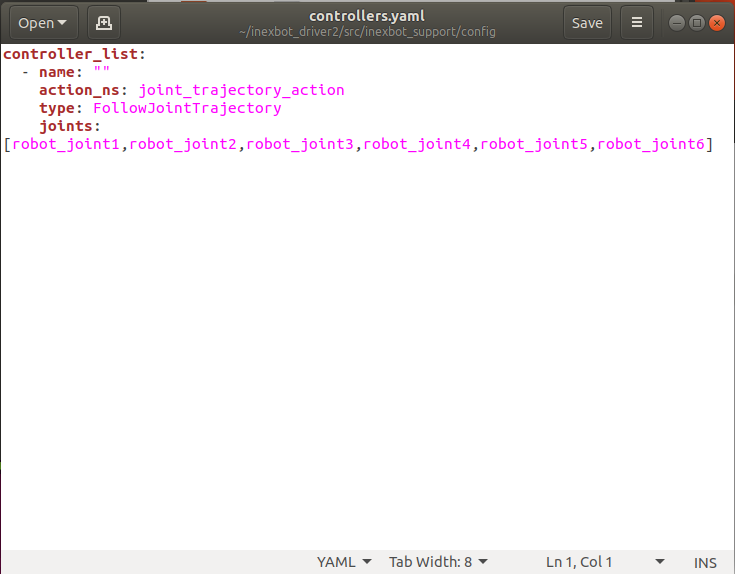
inexbot_support/config의 두 .yaml 파일의 joints 이름을 URDF 내의 joints 이름으로 변경합니다:
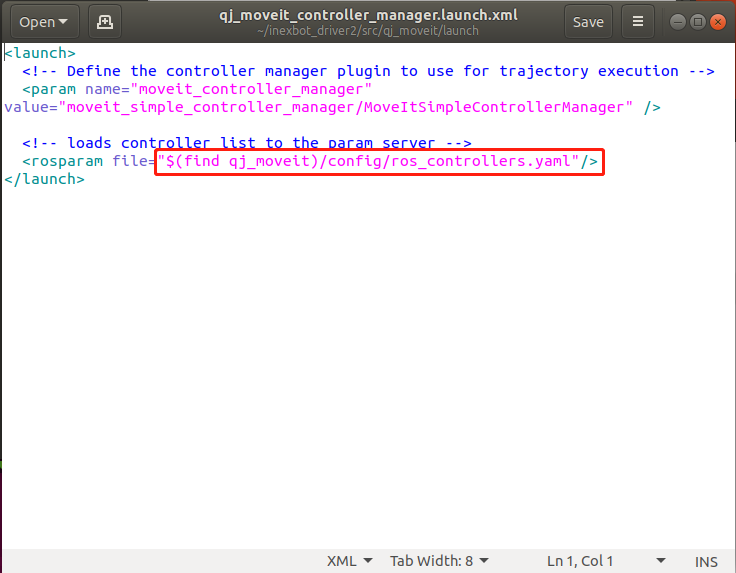
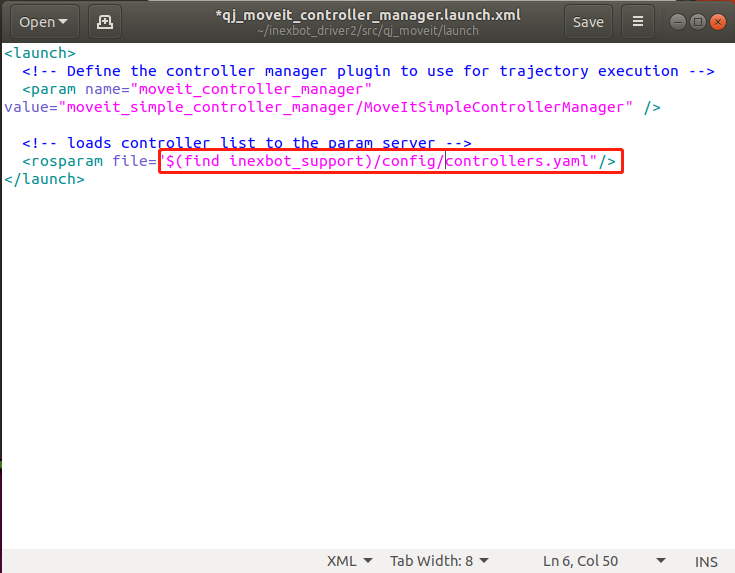
qj_moveit/launch/qj_moveit_controller_manager.launch.xml의 빨간색 박스 내용을 (find inexbot_support)/config/controllers.yaml로 변경합니다:
터미널을 열고 컴파일 및 실행합니다:
cd ~/inexbot
catkin_make
source devel/setup.bash
roslaunch inexbot_support moveit_planning_execution.launch sim:=false robot_ip:=192.168.1.13
4. MoveIt을 통해 로봇 제어
방법 1: Goal State 설정
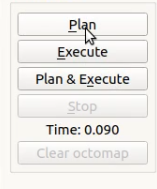
Plan을 클릭하여 계획 궤적을 생성하면, 하단에 계산에 걸린 시간 Time이 표시됩니다.
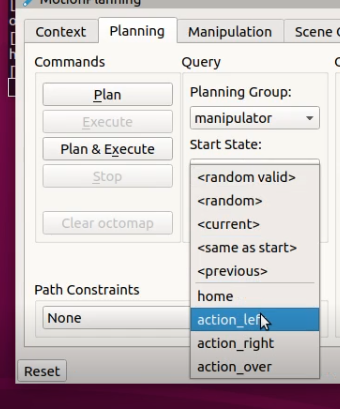
Execute를 클릭하여 실행하거나, Plan & Execute를 클릭하여 계획 후 즉시 실행할 수도 있습니다.
방법 2: 드래그 플래너
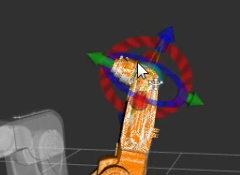
드래그 플래너 앞쪽의 녹색 작은 공을 드래그합니다. 작은 공 위에 커서를 두면 하단에 3차원 좌표가 나타나며, 목표 지점까지 드래그한 뒤 Plan을 클릭하여 계획 궤적을 생성하고, Execute를 클릭하여 실행합니다. 또는 Plan & Execute를 클릭하여 계획 후 즉시 실행할 수도 있습니다.
5. C++ 프로그래밍으로 로봇 제어
기능 패키지 생성
cd ~/inexbot/src
catkin_create_pkg inexbot_code std_msgs rospy roscpp
cd ../
catkin_make
관절 공간 계획 예제
다음 코드를 src/moveit_joint_demo.cpp로 저장하여 ~/inexbot/src/inexbot_code/src/에 넣습니다:
#include <ros/ros.h>
#include <moveit/move_group_interface/move_group_interface.h>

int main(int argc, char **argv)
{
    ros::init(argc, argv, "moveit_joint_demo");
    ros::AsyncSpinner spinner(1);
    spinner.start();

    // manipulator는 MoveIt을 통해 설정된 계획 그룹 이름
    moveit::planning_interface::MoveGroupInterface arm("manipulator");

    // 관절 허용 오차 설정
    arm.setGoalJointTolerance(0.001);
    // 최대 가속도 설정
    arm.setMaxAccelerationScalingFactor(0.2);
    // 최대 속도 설정
    arm.setMaxVelocityScalingFactor(0.2);

    // 로봇 암을 초기화 위치로 복귀 제어 (home은 MoveIt 사전 설정 위치)
    arm.setNamedTarget("home");
    arm.move();
    sleep(1);

    // 관절 공간의 6개 축 각도 설정
    double targetPose[6] = {0.391410, -0.676384, -0.376217, 0.0, 1.052834, 0.454125};
    std::vector<double> joint_group_positions(6);
    joint_group_positions[0] = targetPose[0];
    joint_group_positions[1] = targetPose[1];
    joint_group_positions[2] = targetPose[2];
    joint_group_positions[3] = targetPose[3];
    joint_group_positions[4] = targetPose[4];
    joint_group_positions[5] = targetPose[5];

    arm.setJointValueTarget(joint_group_positions);
    arm.move();
    sleep(1);

    // 로봇 암을 초기화 위치로 복귀 제어
    arm.setNamedTarget("home");
    arm.move();
    sleep(1);

    ros::shutdown();
    return 0;
}
CMakeLists.txt 수정
add_executable 태그 위에 다음을 추가합니다:
add_executable(moveit_joint_demo src/moveit_joint_demo.cpp)
target_link_libraries(moveit_joint_demo ${catkin_LIBRARIES})
컴파일 및 실행
cd ~/inexbot
catkin_make
rosrun inexbot_code moveit_joint_demo