🤖 AI assistants / automation: start with AI Entry Page · Agent Development Guide · Pre-generation Checklist (zh); index: /llms.txt; SKILL: SKILL.md
Ubuntu 18.04 Installation
This document provides detailed instructions for downloading Ubuntu 18.04, creating a virtual machine via VMware Workstation, installing and configuring it, and installing VMware Tools.
1. Download Ubuntu 18.04
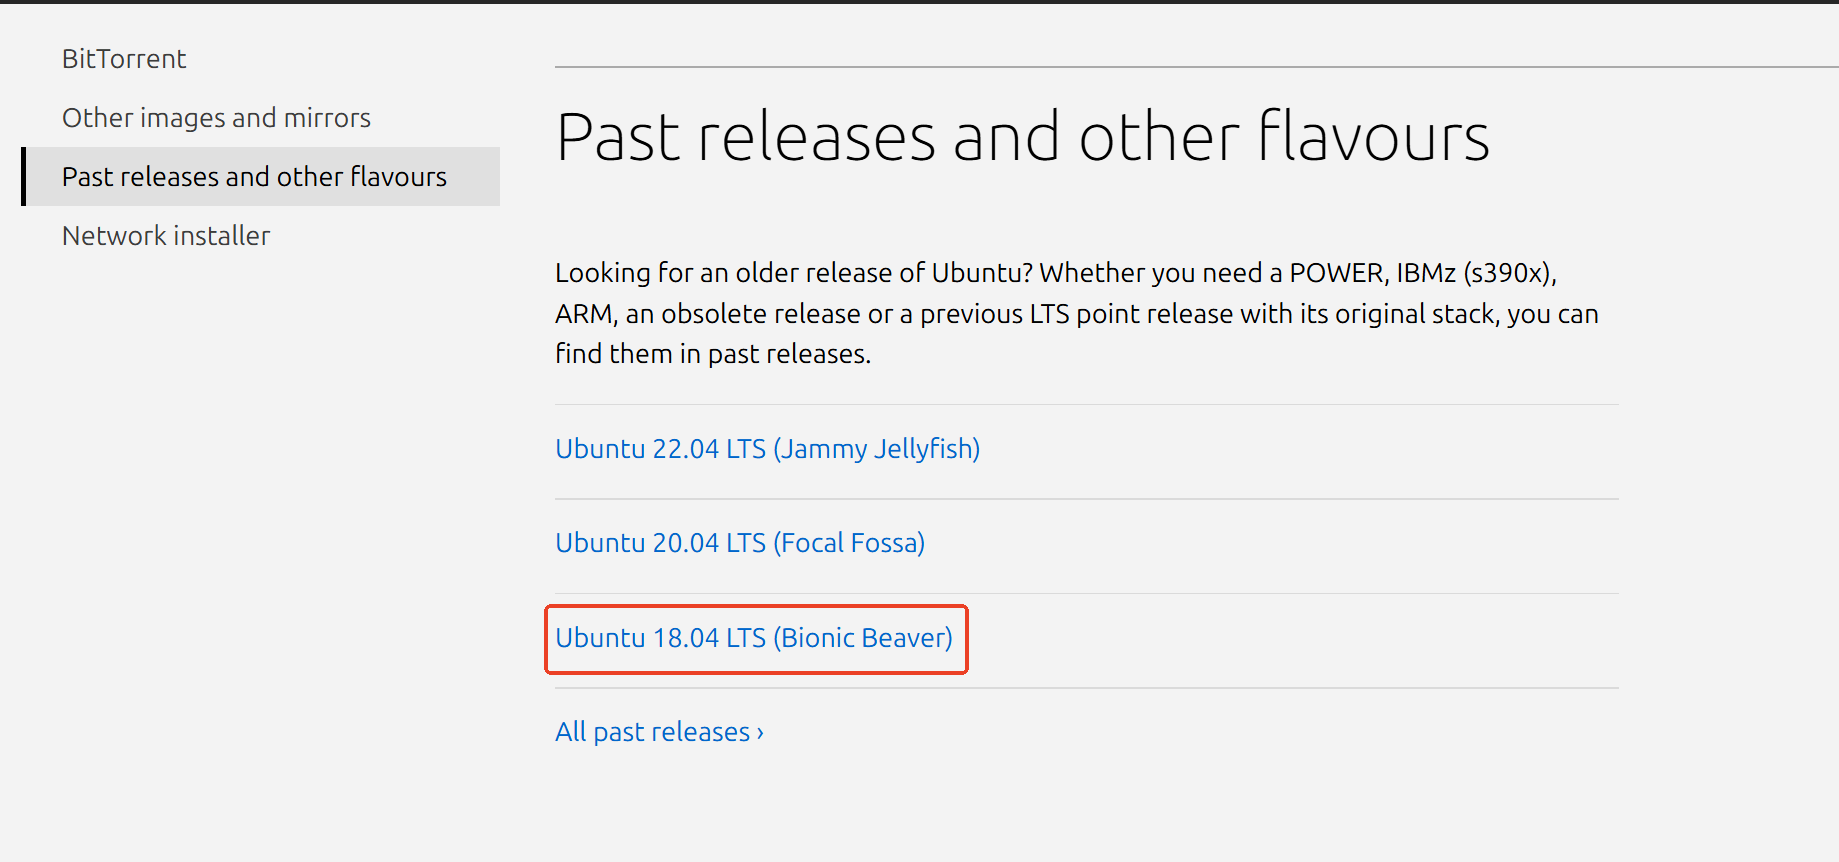
Download the Ubuntu 18.04 LTS ISO file from the Ubuntu official website or a domestic mirror site.
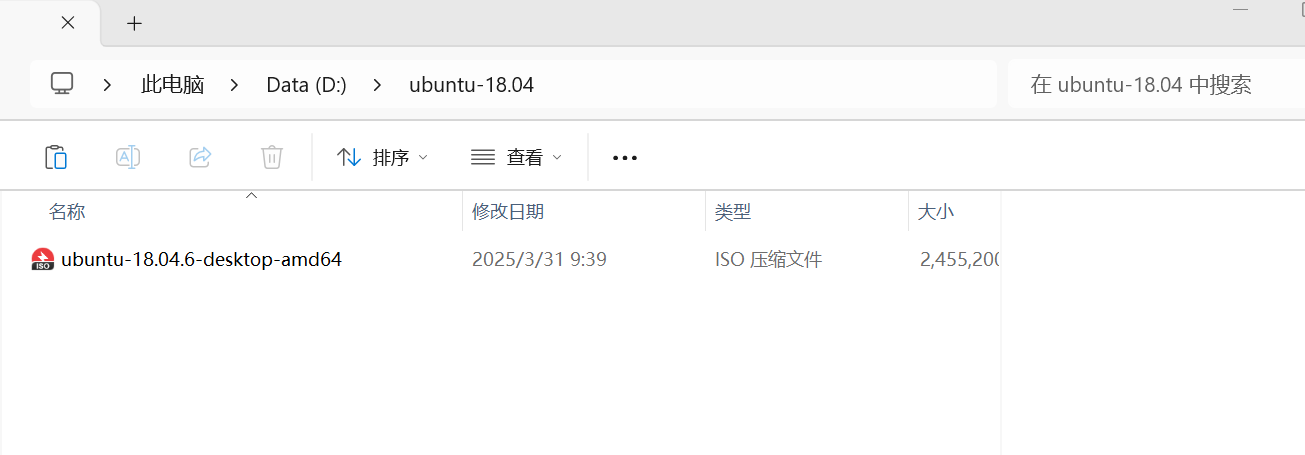
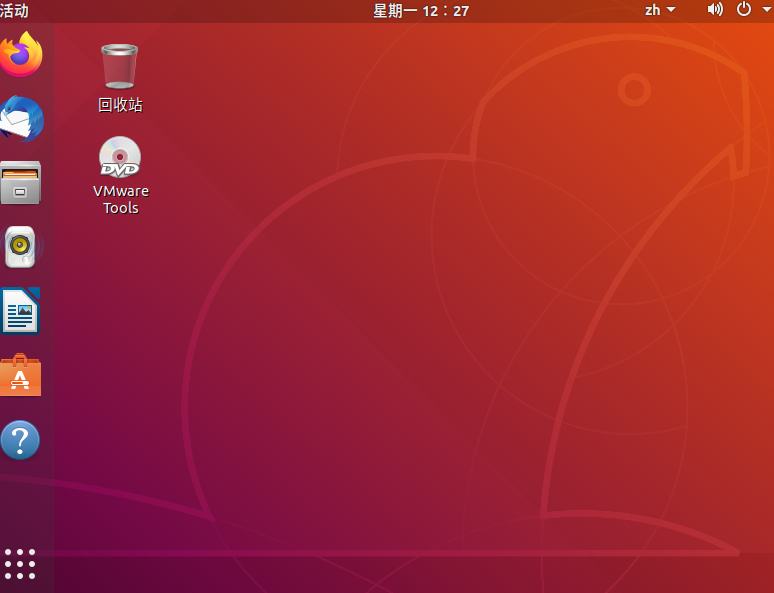
After installation, it appears as follows:
2. Create a Virtual Machine
VMware Configuration Steps
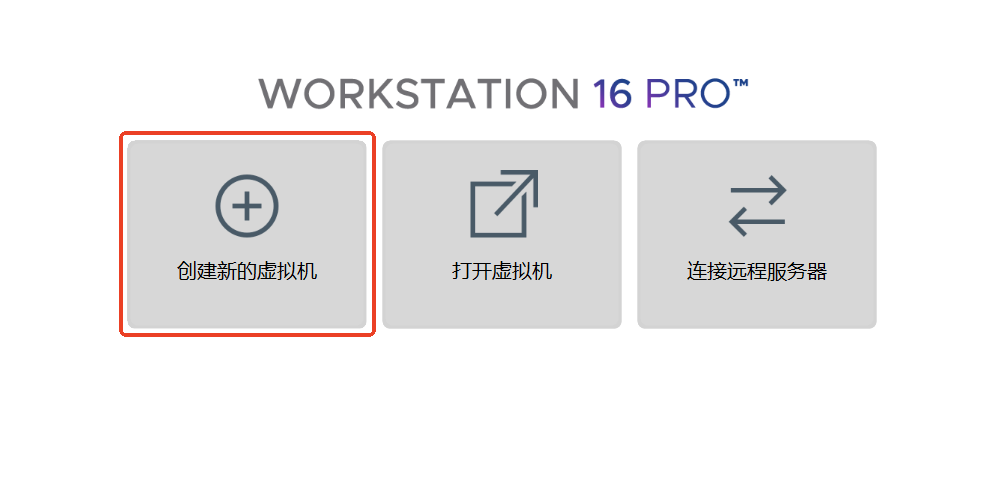
- Open VMware Workstation and click Create a New Virtual Machine.
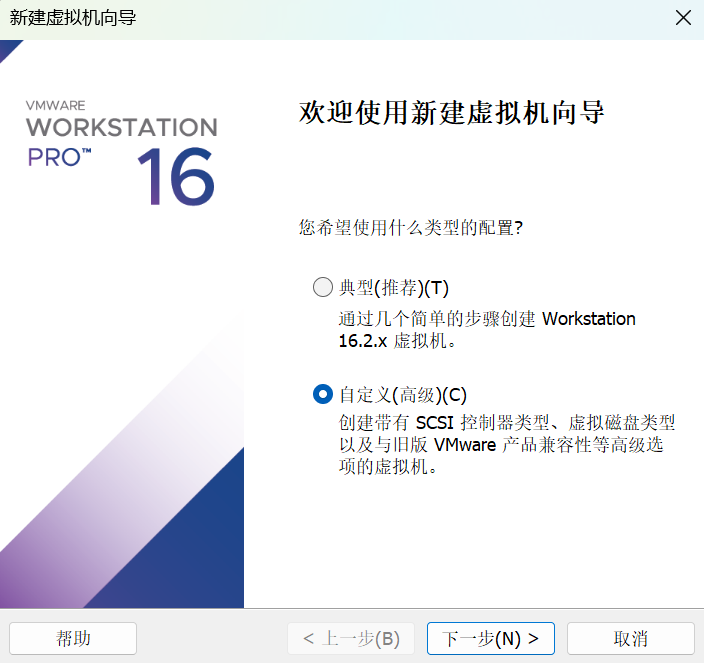
- Select Custom (Advanced), then click Next.
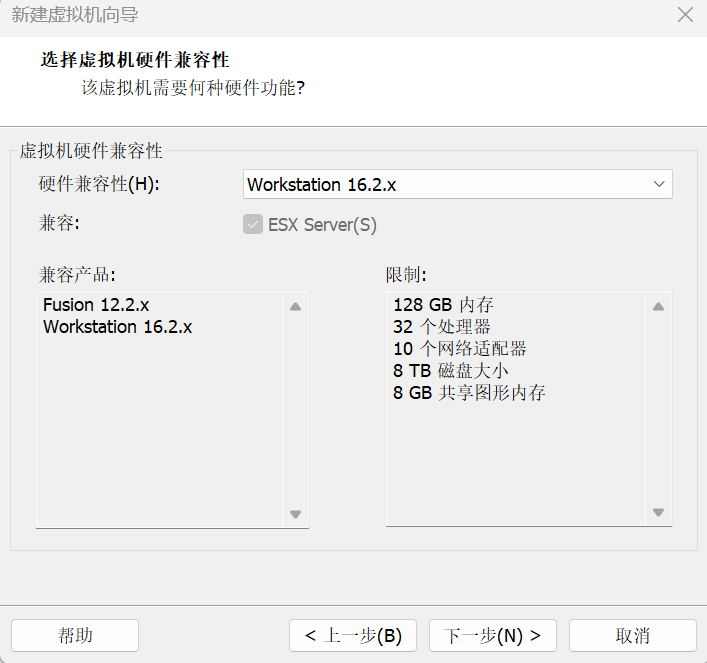
- Select hardware compatibility based on your installed VMware version, then click Next.
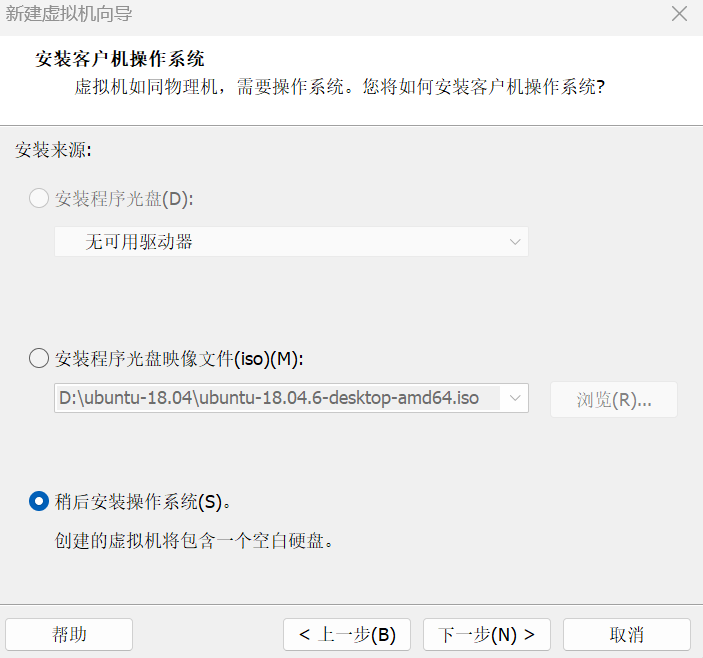
- Select I will install the operating system later, then click Next.
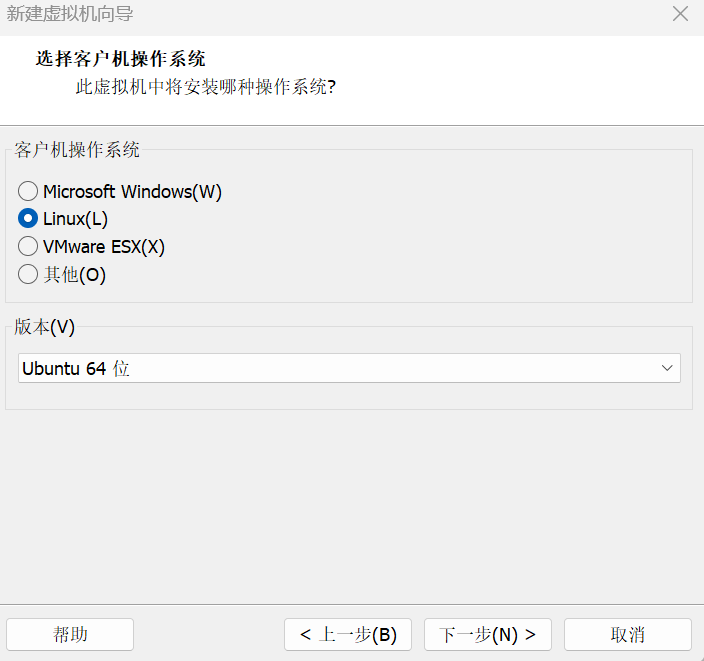
- Select Linux, with version Ubuntu 64-bit, then click Next.
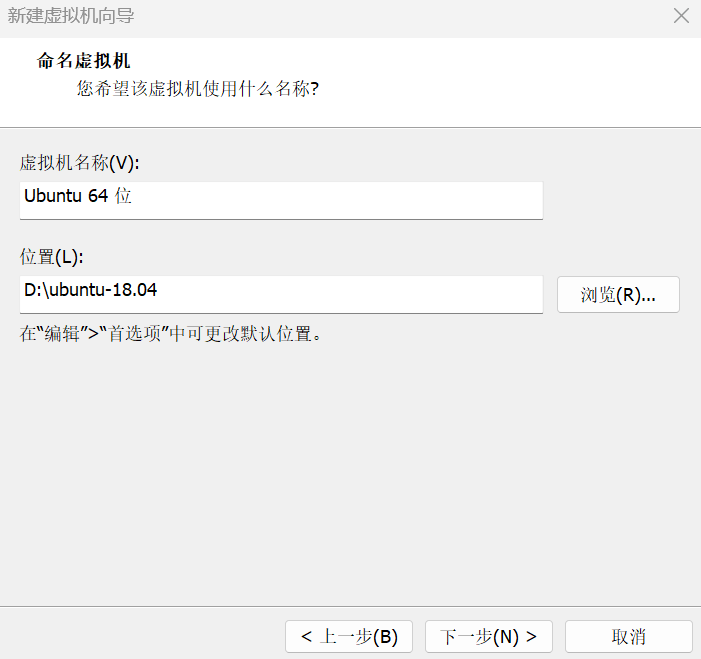
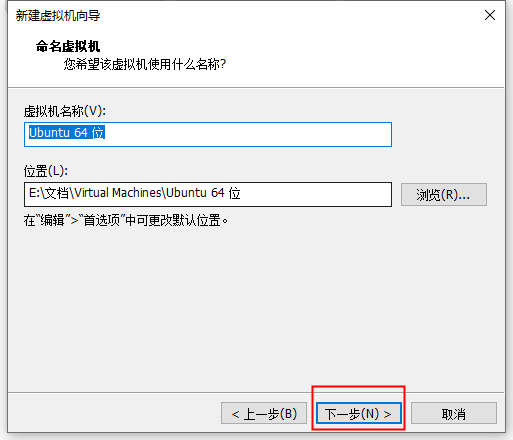
- Name the virtual machine and choose an installation location (preferably not on the C drive).
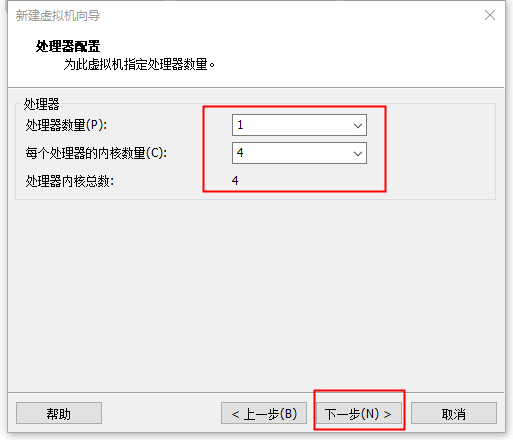
- Set processor count to 1 and core count to 4, then click Next.
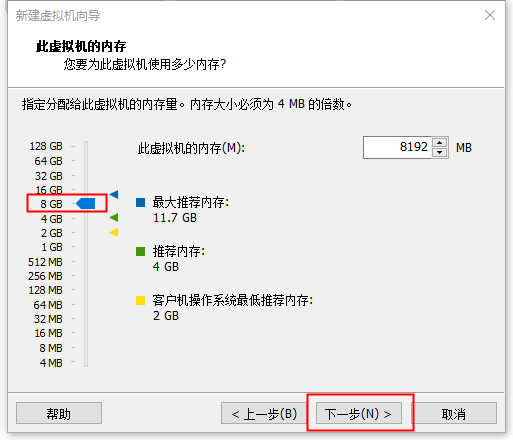
- Set memory to 8GB, then click Next.
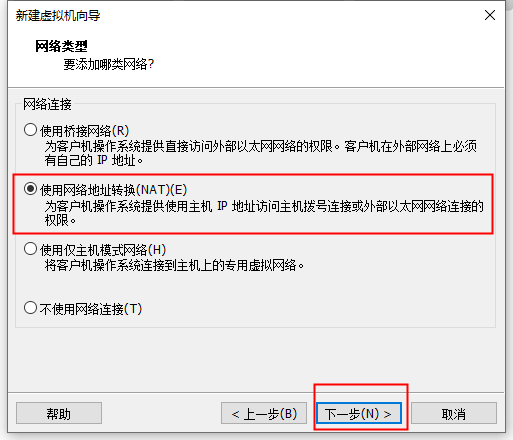
- Select Use network address translation (NAT), then click Next.
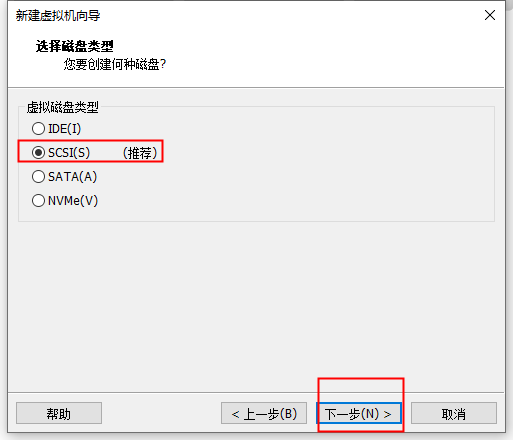
- Keep the default recommended settings and click Next.
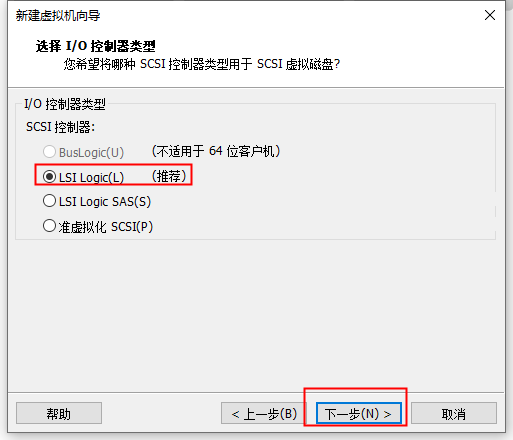
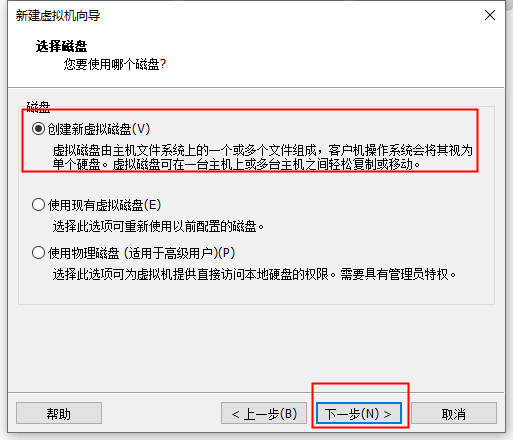
- Select Create a new virtual disk, then click Next.
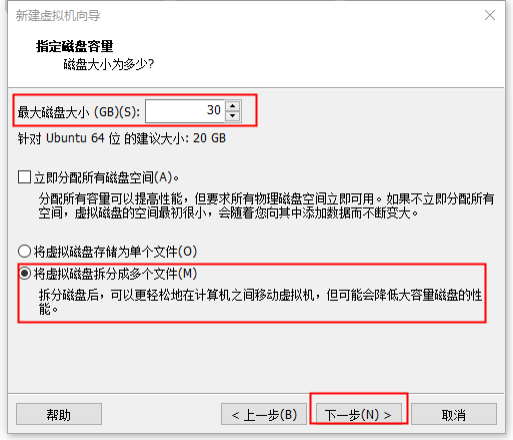
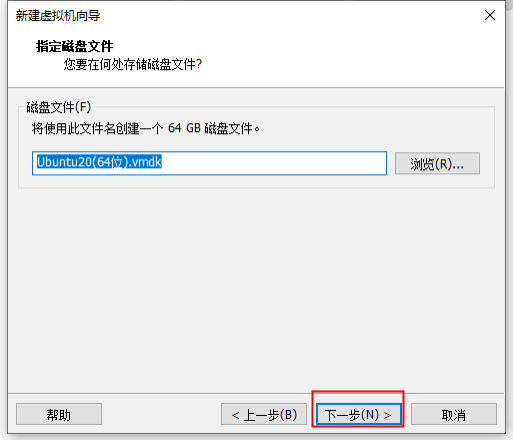
- Allocate disk space, recommended 80GB (adjustable based on actual needs), and select Split virtual disk into multiple files, then click Next.
- Keep defaults and click Next.
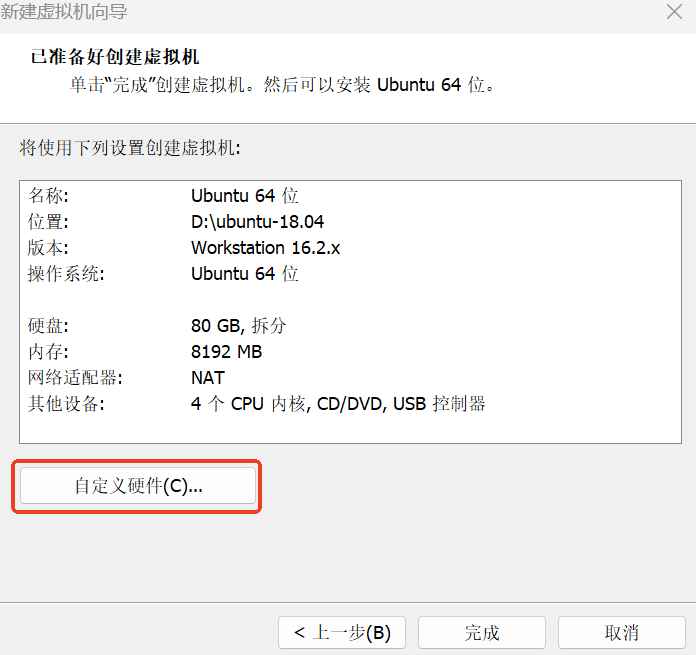
- Click Customize Hardware.
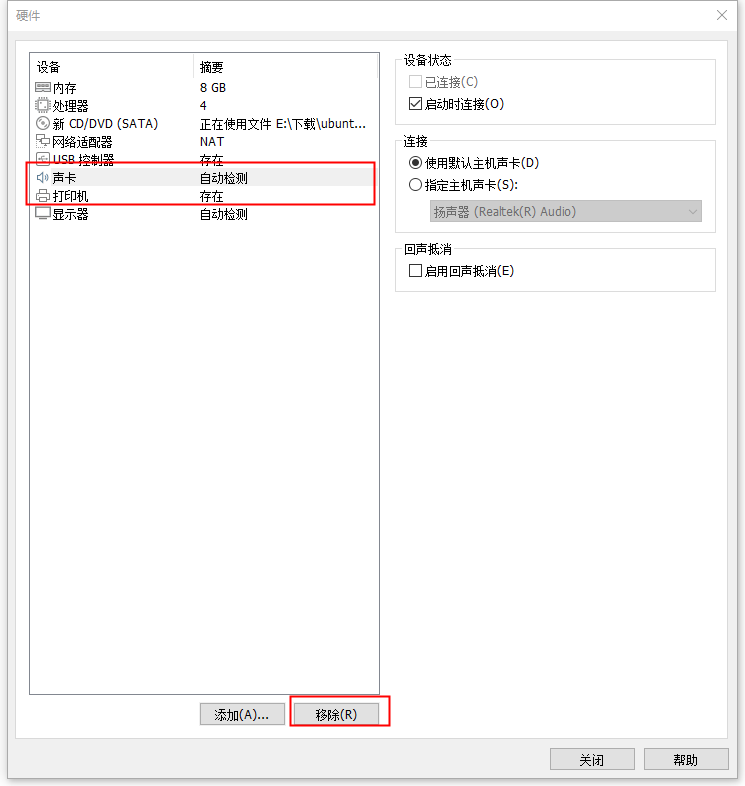
- In the hardware customization dialog, use the ISO image file option and select the ISO file downloaded earlier. Remove Sound Card and Printer, then click Close. Since the virtual machine does not need a sound card or printer, removing them saves resources.
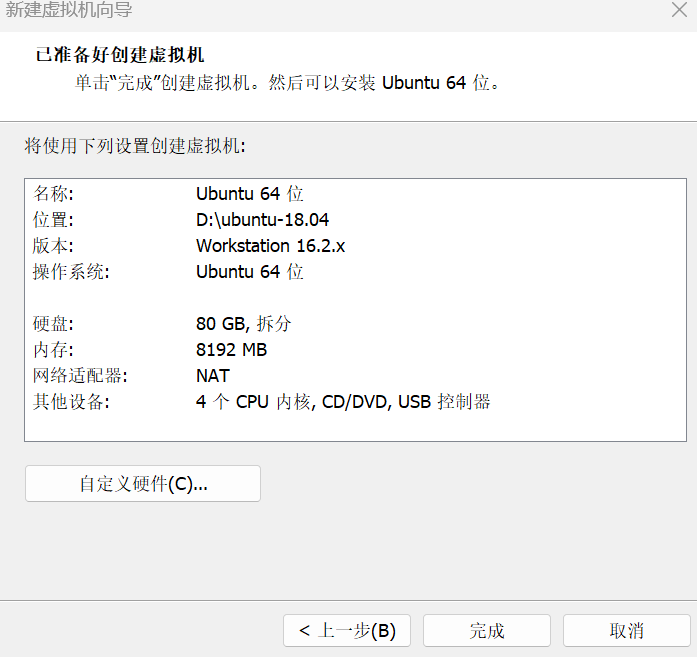
- Click Finish to begin installation.
3. Install Ubuntu 18.04
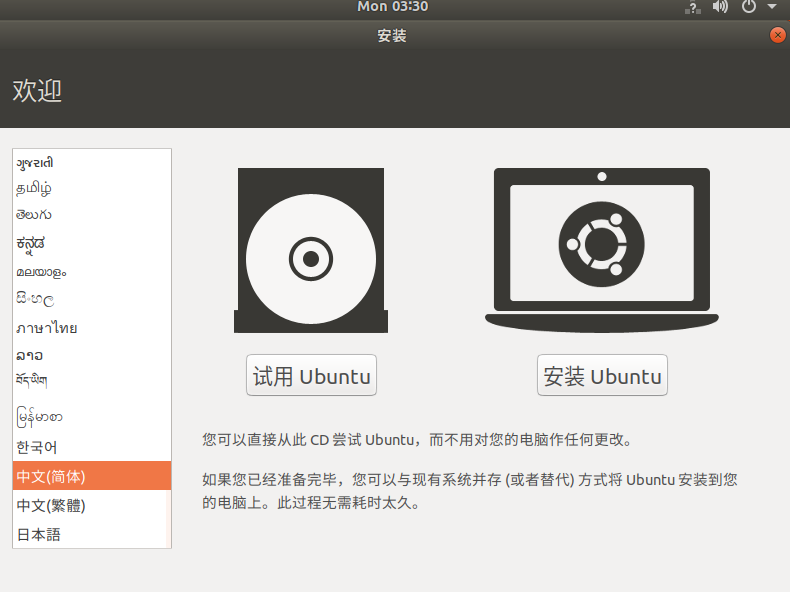
- Enter Ubuntu 18.04 and power on the virtual machine. Select Chinese (Simplified), then click Install Ubuntu.
- Select Chinese.
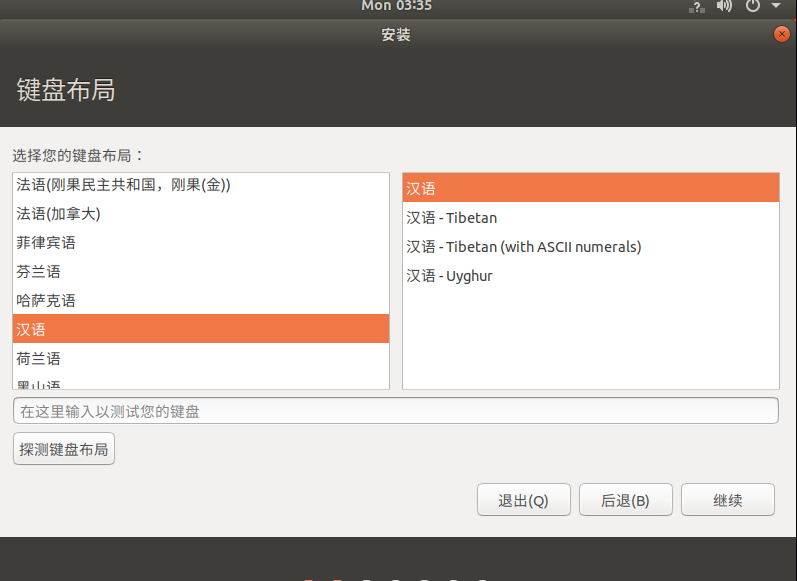
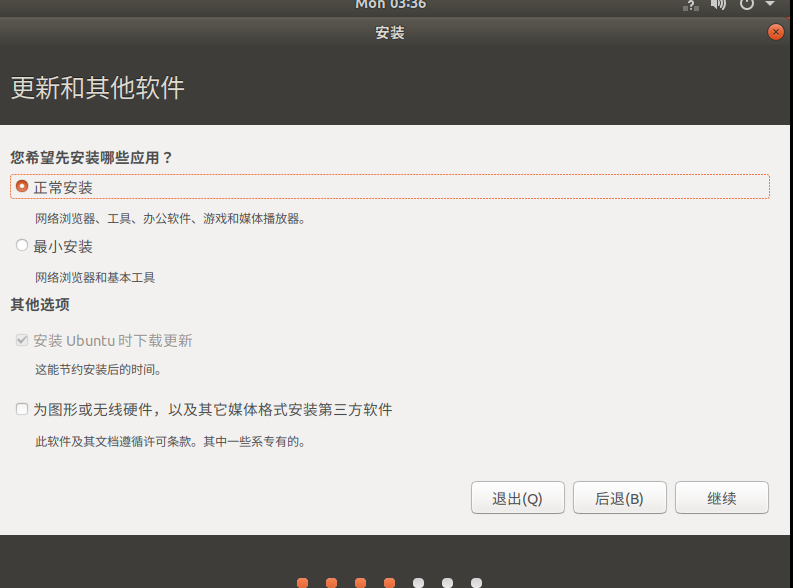
- Select Normal installation, check Download updates while installing Ubuntu, then click Continue.
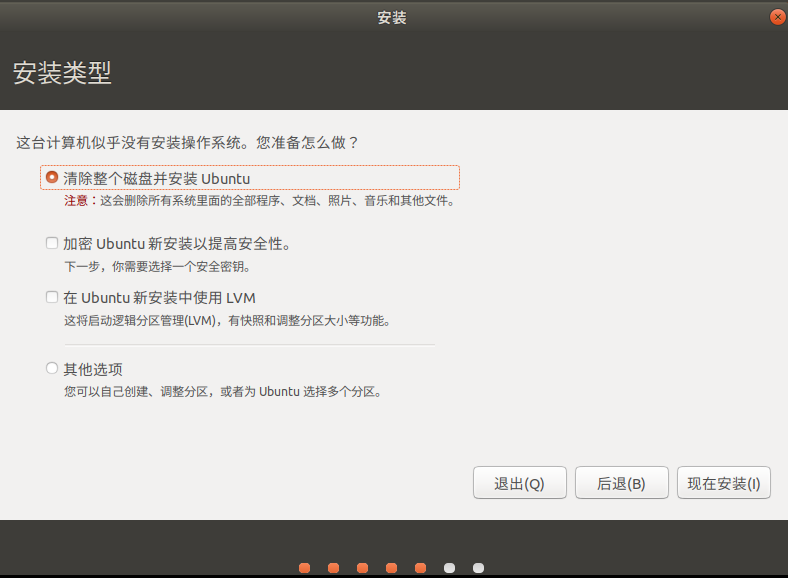
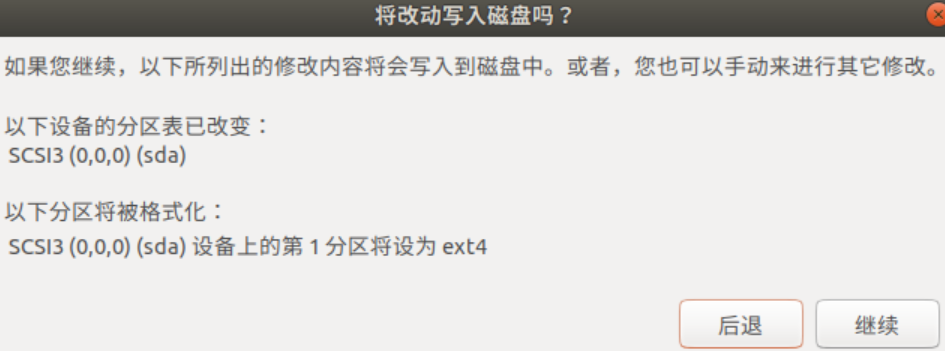
- Select Erase disk and install Ubuntu, click Continue on the warning prompt, and finally click Install Now.
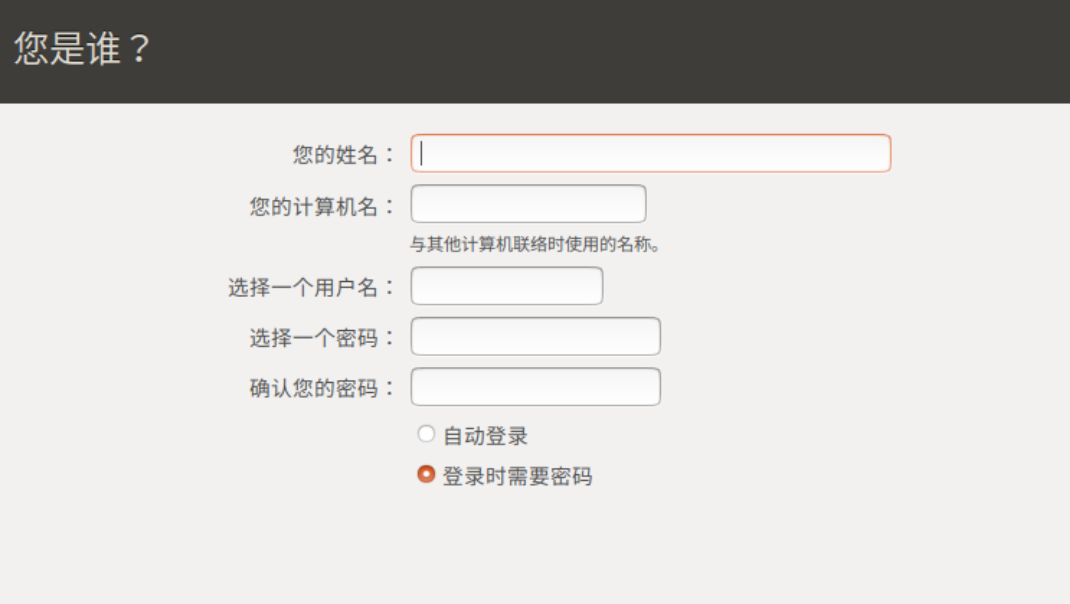
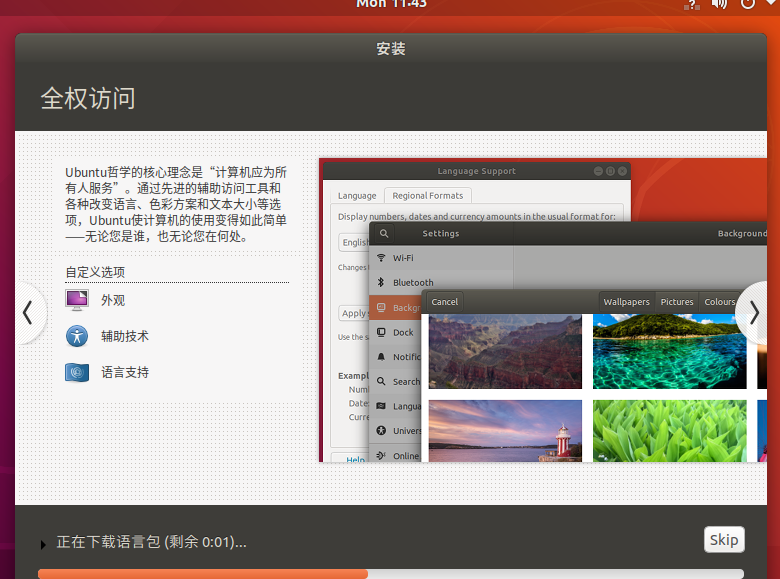
- Set your username and password. The location field can be filled freely. Wait for Ubuntu to complete the installation.
4. Install VMware Tools
After Ubuntu is installed, click Restart Now, enter Ubuntu, and install VMware Tools.
Mount VMware Tools
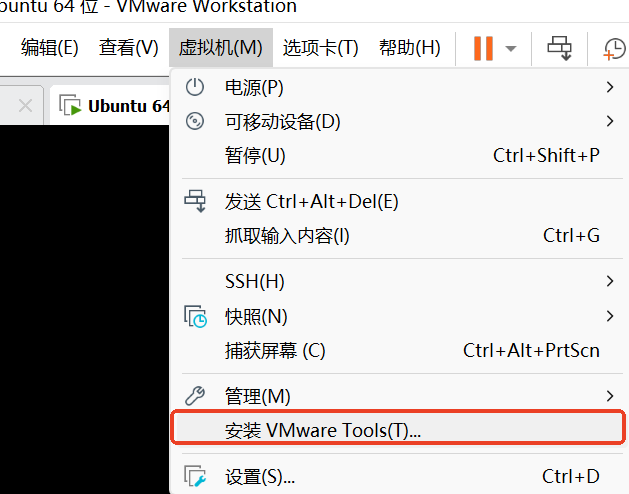
- Click VM in the top menu, then click Install VMware Tools.
After the download completes:
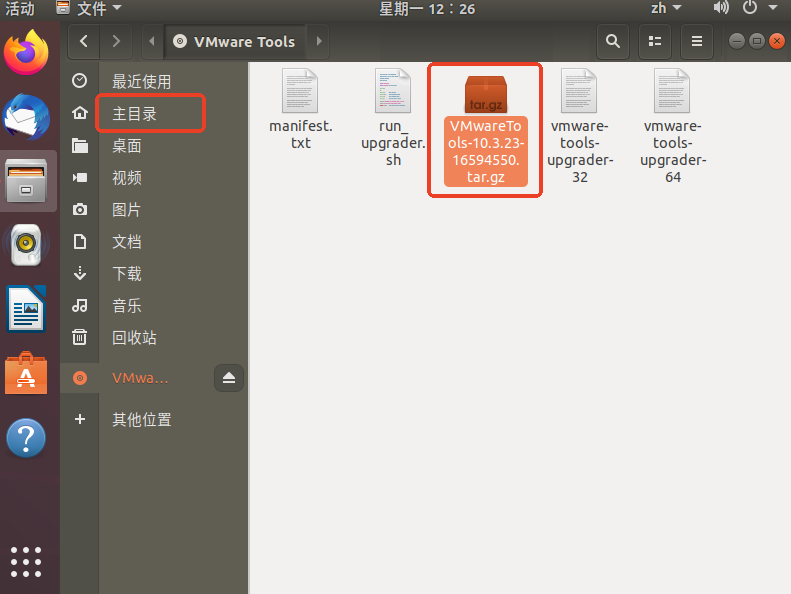
- Locate the VMware Tools folder in Files — VMware Tools, and move it to the home directory.
- Right-click in the home directory and select Open in Terminal, then run the following command:
bash
tar -zxvf VMwareTools-xxx.tar.gzAfter running, you will see the extracted folder:
- Run the following two commands:
bash
cd vmware-tools-distrib
sudo ./vmware-install.pl
Type yes at the first prompt, then press Enter for all subsequent prompts.
Afterward, restart the system. Ubuntu 18.04 installation is now complete.