Port 7000 Communication Package Tutorial
This document describes the specific process of communication between ROS 2 and the inexbot controller using the socket protocol on port 7000.
1. Modify Controller Configuration
The ROS 2 package depends on port 7000 to communicate with the controller. Before use, you need to log into the controller via SSH and modify the controller.json configuration file.
SSH Login to the Controller
ssh inexbot@192.168.x.x # Replace with the actual controller IPPassword: 123
Modify File Permissions
cd robot/
cd config/
sudo chmod 777 controller.json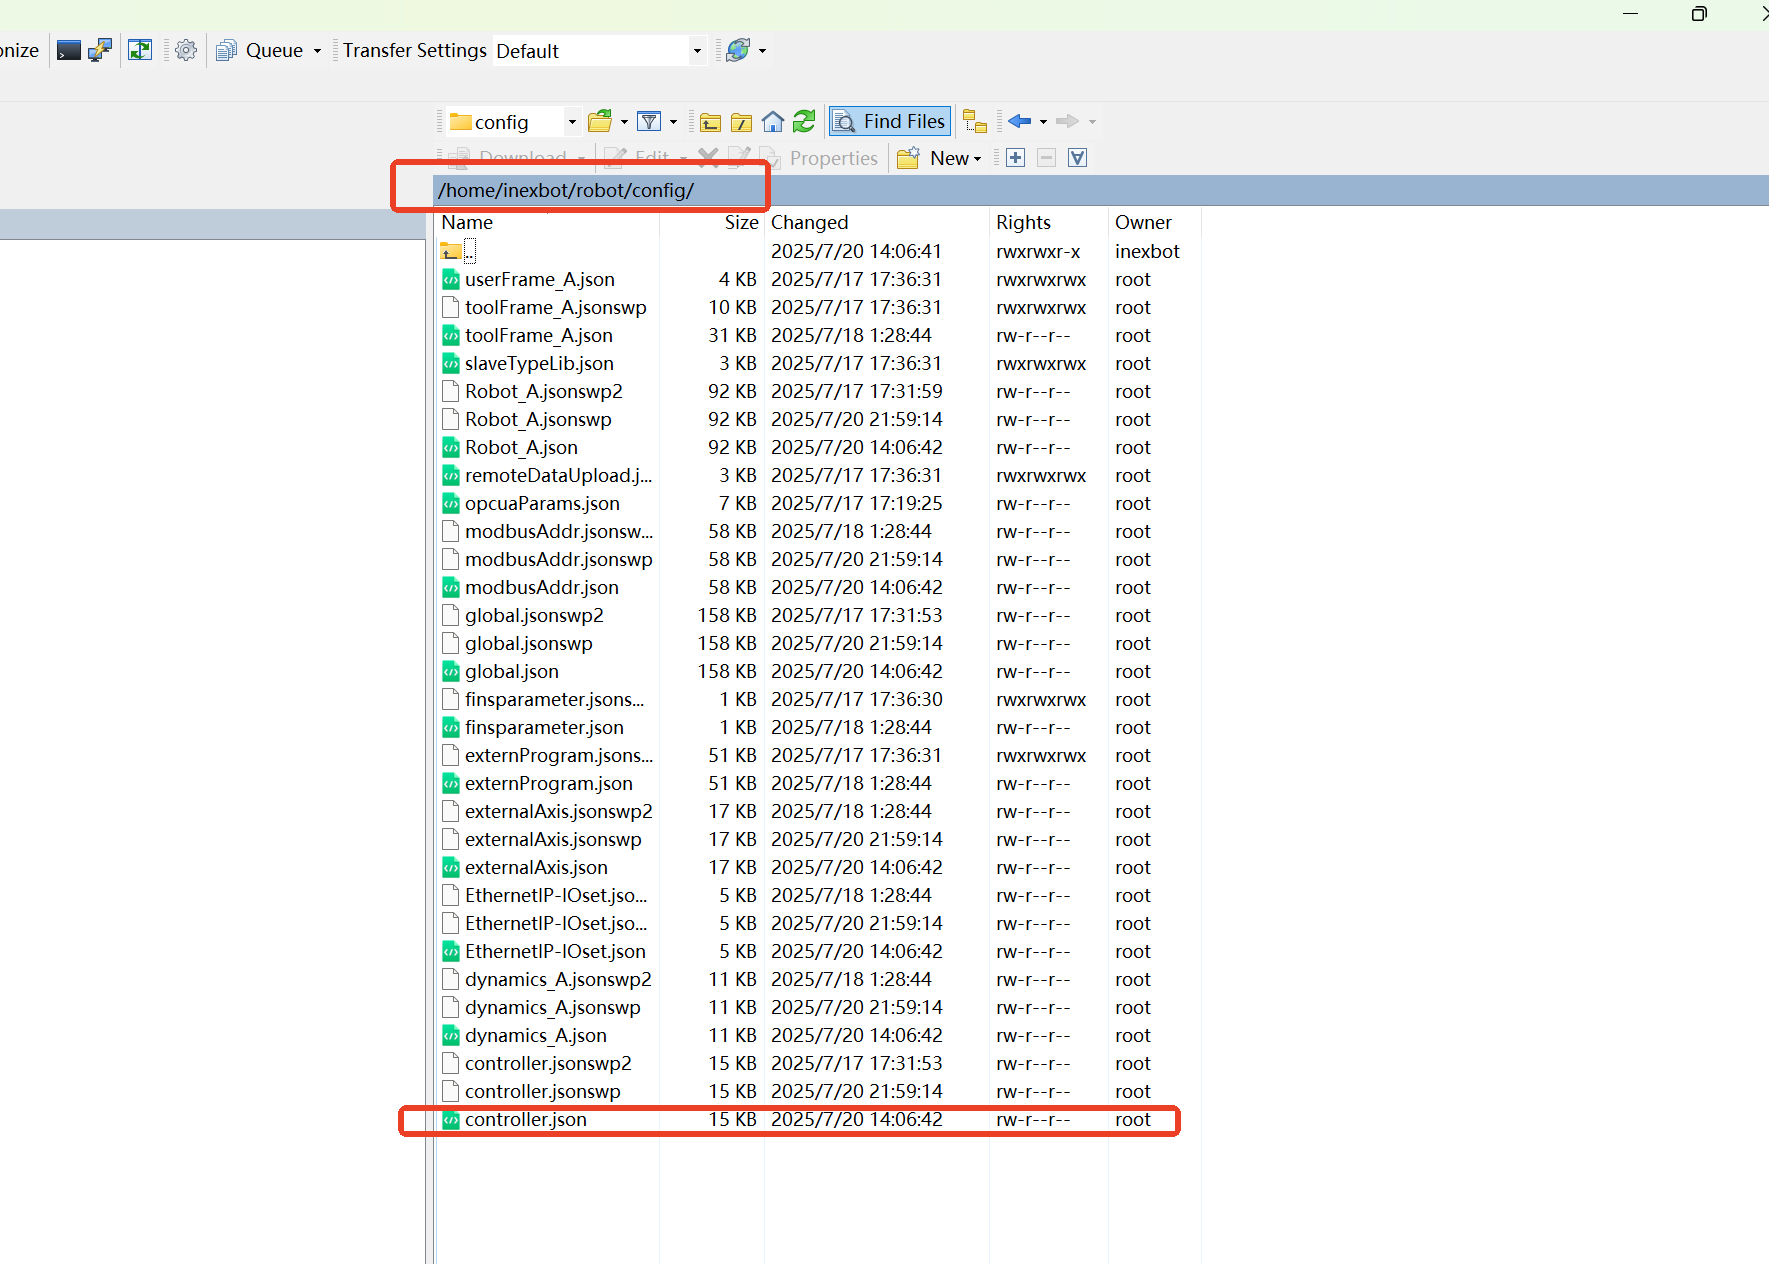
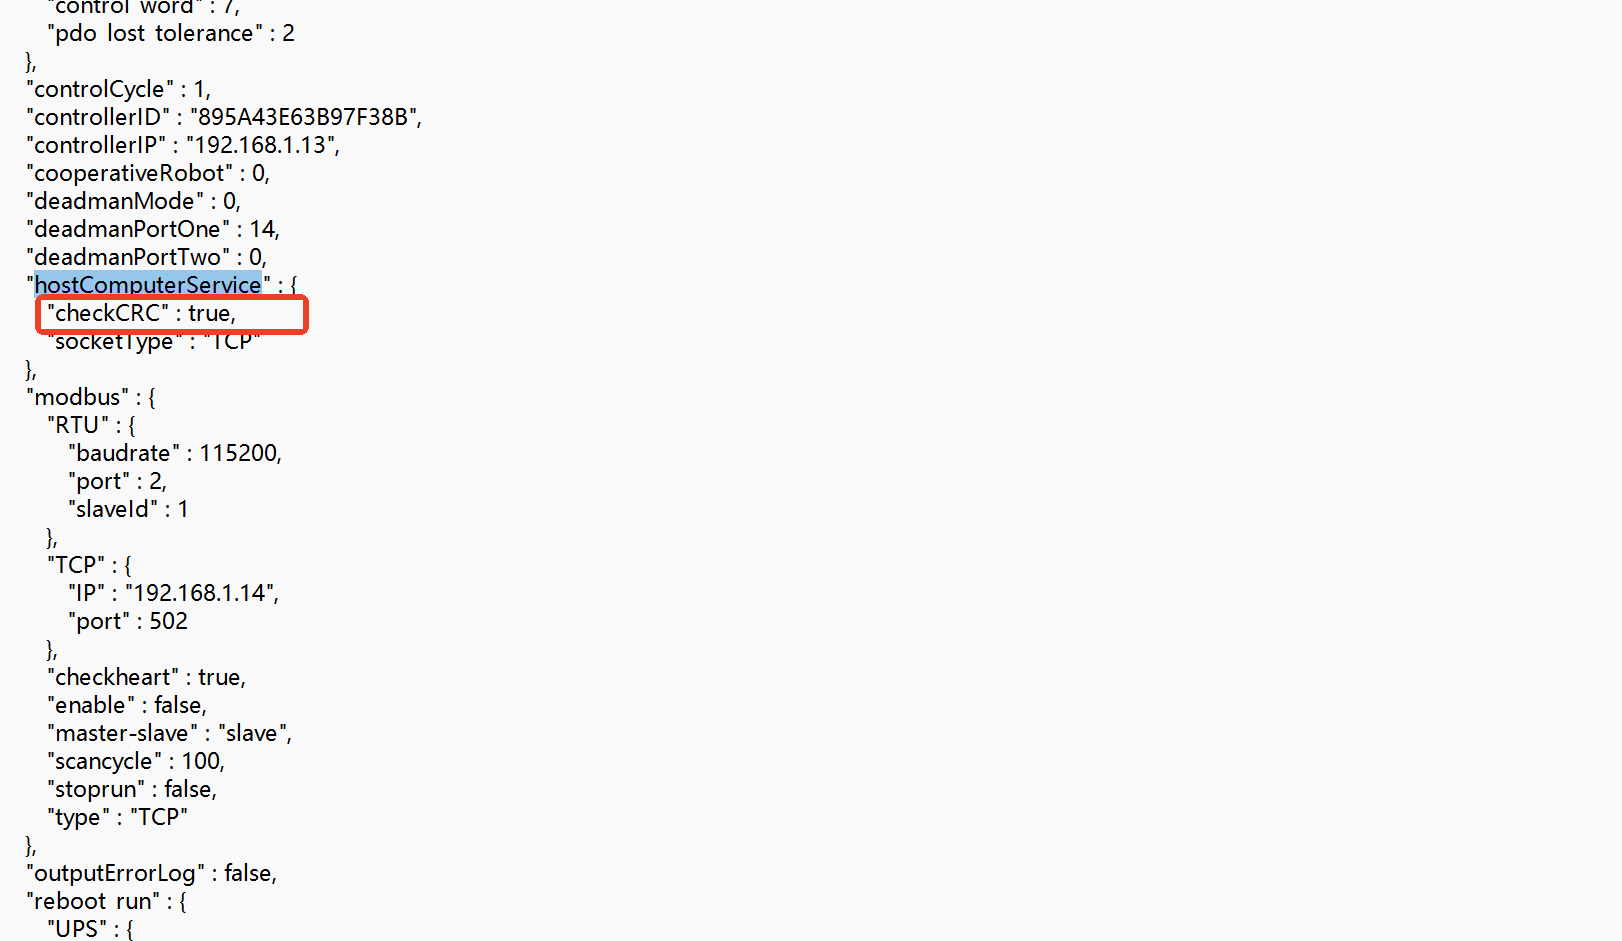
Disable CRC Verification
Open controller.json, find checkCRC under the hostComputerService node, and change true to false.

2. Create a Workspace
mkdir -p ~/inexbot/src3. Build the Package
Place the inexbot_service package into ~/inexbot/src, then build:
cd ~/inexbot/
colcon build
4. Launch the Communication Node
Launch nrc_rostopic_joint (Connect to Controller)
source install/setup.bash
ros2 run inexbot_service nrc_rostopic_joint
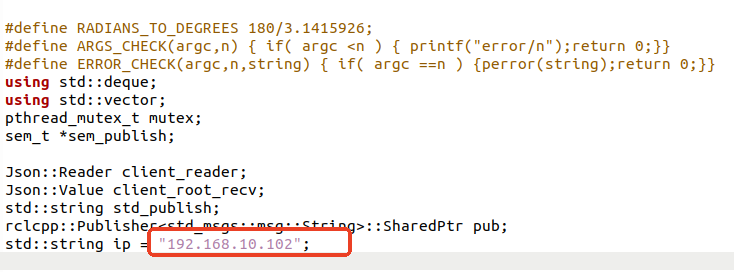
Enter 5 in the terminal running rostopic_joint.cpp, at which point the following effect will appear in the terminal running nrc_rostopic_joint.cpp.

Launch rostopic_joint (Demo Program)
source install/setup.bash
ros2 run inexbot_service rostopic_joint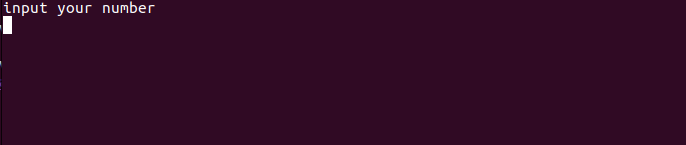
Demo Program Feature Description
rostopic_joint.cpp serves as a demo to show customers how ROS 2 communicates with the inexbot controller. After the message input your number appears, you can enter 1-6, each number representing a different function:
| Number | Feature |
|---|---|
| 1 | Read IO information from the controller |
| 2 | Write IO information to the controller |
| 3 | Stop query commands |
| 4 | Read the robot's actual coordinates |
| 5 | Control the robot to move to pose 1 |
| 6 | Control the robot to move to pose 2 |
Core Code Example
switch(s_number) {
    case 1: { // Read IO
        Json::Value rootSend;
        Json::FastWriter fWriter;
        rootSend["channel"] = 1;
        rootSend["stop"] = 0;
        rootSend["robot"] = 1;
        rootSend["mode"] = 1;      // 0: reply only once, 1: reply periodically
        rootSend["interval"] = 1000; // reply every 1000ms
        rootSend["queryType"][(unsigned int)0] = "IO";
        rootSend["typeCfg"]["IO"][(unsigned int)0] = "DO1";
        rootSend["typeCfg"]["IO"][1] = "DO2";
        rootSend["typeCfg"]["IO"][2] = "DO3";
        rootSend["typeCfg"]["IO"][3] = "DO4";
        rootSend["typeCfg"]["IO"][4] = "DO5";
        str = fWriter.write(rootSend);
        break;
    }
    case 2: { // Write IO
        Json::Value rootSend_1;
        Json::FastWriter fWriter_1;
        rootSend_1["IO"]["DO1"] = 1;
        rootSend_1["IO"]["DO2"] = 0;
        rootSend_1["IO"]["DO3"] = 1;
        rootSend_1["IO"]["DO4"] = 0;
        str = fWriter_1.write(rootSend_1);
        break;
    }
    case 3: { // Stop query
        printf("tell me channel number is ???\n");
        int channel_num;
        scanf("%d", &channel_num);
        Json::Value rootSend;
        Json::FastWriter fWriter;
        rootSend["channel"] = channel_num; // channel to stop, supports up to 9
        rootSend["stop"] = 1;
        str = fWriter.write(rootSend);
        break;
    }
    case 4: { // Read actual coordinates
        Json::Value rootSend;
        Json::FastWriter fWriter;
        rootSend["channel"] = 2;
        rootSend["stop"] = 0;
        rootSend["robot"] = 1;
        rootSend["mode"] = 1;
        rootSend["interval"] = 1000;
        rootSend["queryType"][(unsigned int)0] = "realPosMCS";
        str = fWriter.write(rootSend);
        break;
    }
    case 5: { // Control movement to pose 1
        Json::Value rootSend;
        Json::FastWriter fWriter;
        rootSend["robot"] = 1;
        rootSend["clearBuffer"] = 1;
        rootSend["targetMode"] = 0;
        rootSend["cfg"]["coord"] = "MCS";
        rootSend["cfg"]["speed"] = 20;
        rootSend["cfg"]["acc"] = 20;
        rootSend["cfg"]["moveMode"] = "MOVJ";
        rootSend["targetPos"][0] = 530.433;
        rootSend["targetPos"][1] = 7.497;
        rootSend["targetPos"][2] = 118.728;
        rootSend["targetPos"][3] = 3.141593;
        rootSend["targetPos"][4] = 0;
        rootSend["targetPos"][5] = -0.1;
        str = fWriter.write(rootSend);
        break;
    }
    case 6: { // Control movement to pose 2
        Json::Value rootSend;
        Json::FastWriter fWriter;
        rootSend["robot"] = 1;
        rootSend["clearBuffer"] = 1;
        rootSend["targetMode"] = 0;
        rootSend["cfg"]["coord"] = "MCS";
        rootSend["cfg"]["speed"] = 20;
        rootSend["cfg"]["acc"] = 20;
        rootSend["cfg"]["moveMode"] = "MOVJ";
        rootSend["targetPos"][0] = 574.964434;
        rootSend["targetPos"][1] = -37.208582;
        rootSend["targetPos"][2] = 150;
        rootSend["targetPos"][3] = 3.141593;
        rootSend["targetPos"][4] = 0;
        rootSend["targetPos"][5] = 0.2;
        str = fWriter.write(rootSend);
        break;
    }
    default:
        RCLCPP_INFO(this->get_logger(), "scanf is: %d", s_number);
        break;
}
Controller-side Configuration
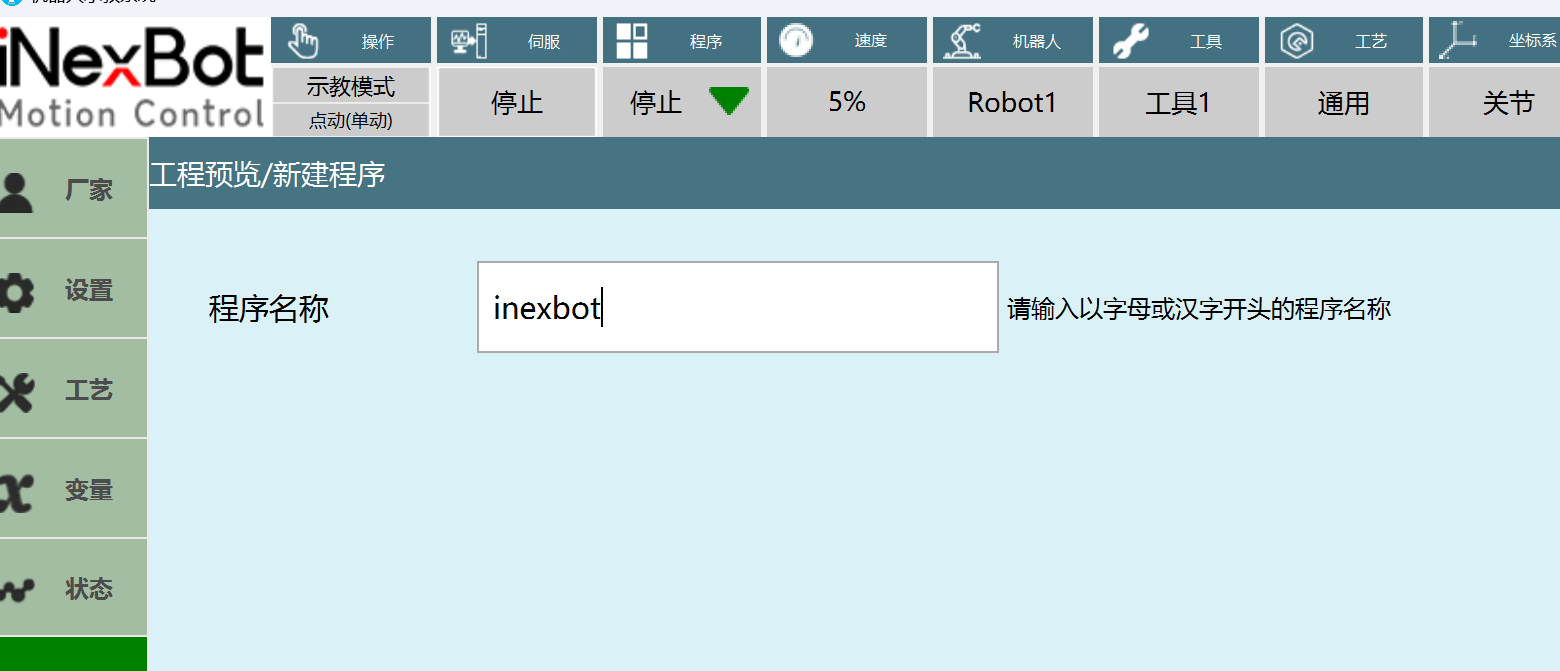
First, open the teach pendant, create a new project, then open the project.
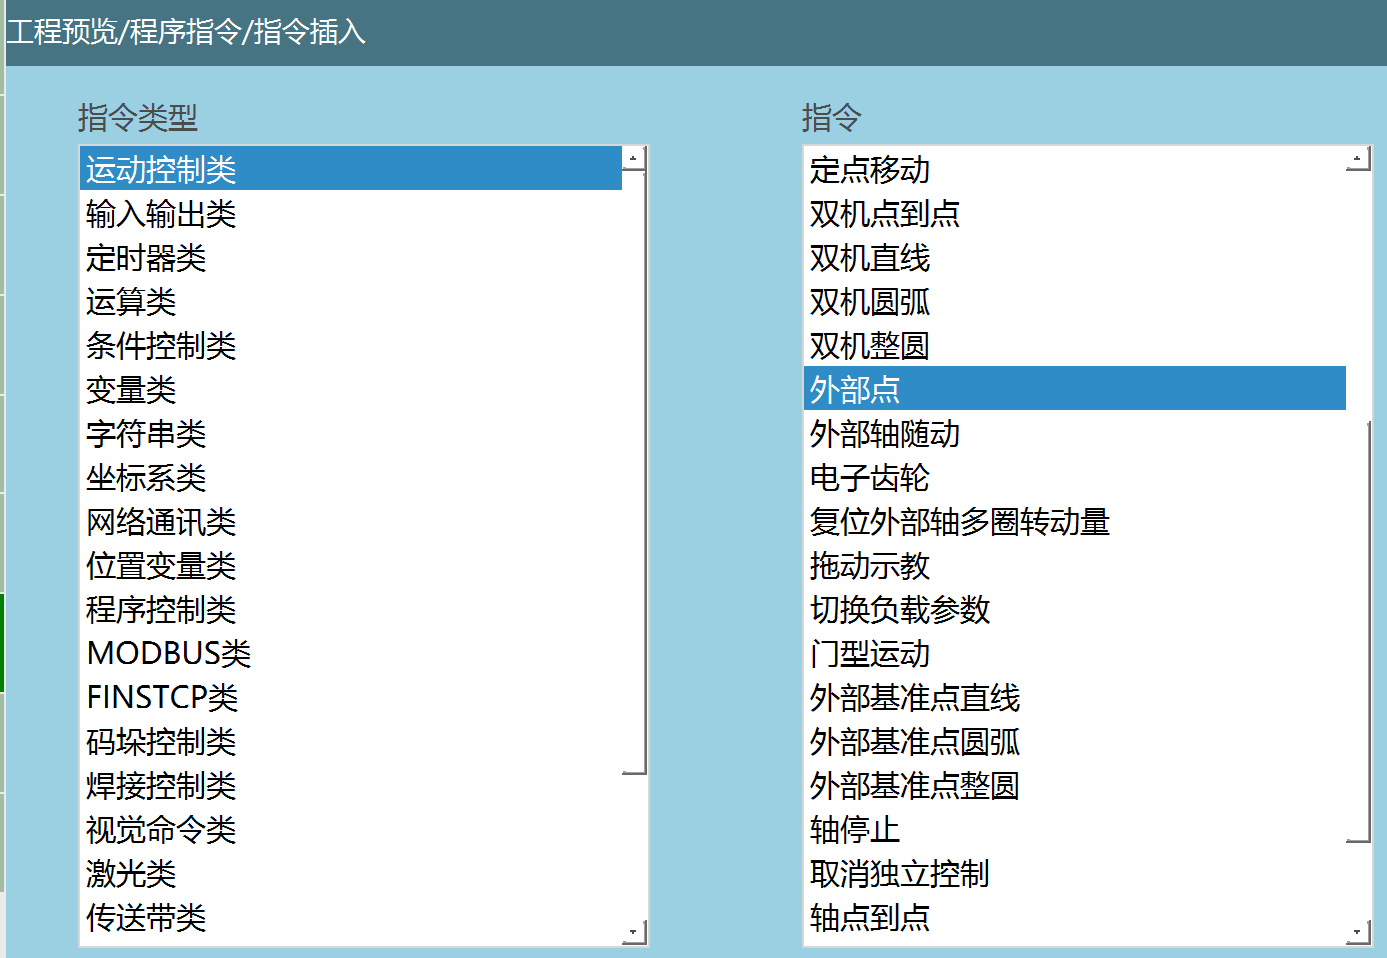
Insert an instruction, select: Motion Control → External Point
Then switch the teach pendant to run mode and run the project.
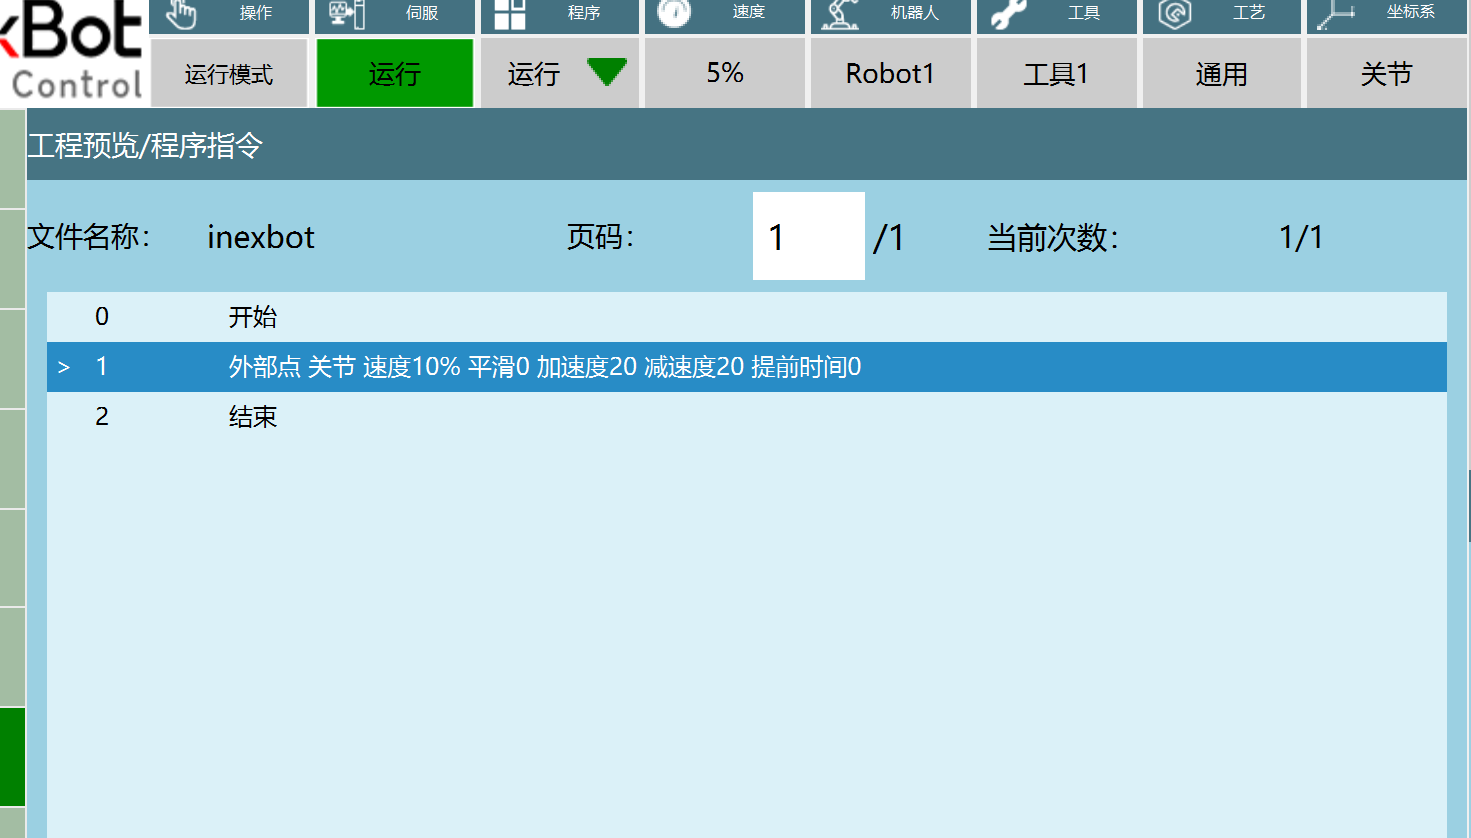
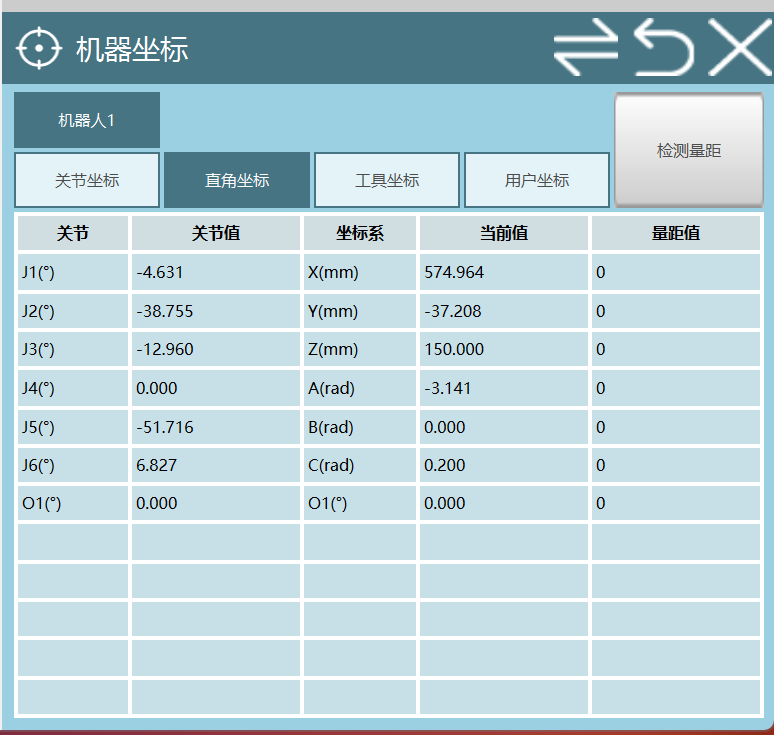
Through monitoring, you can see the robot's position in the Cartesian coordinate system.
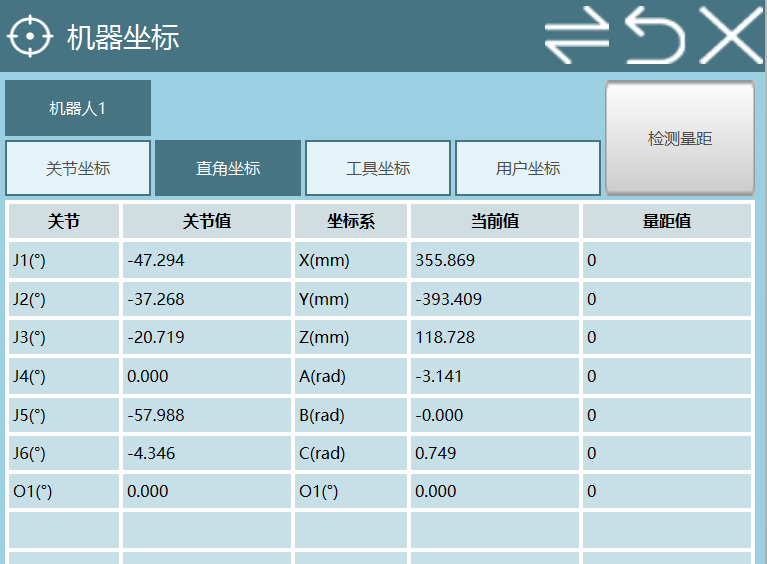
Enter 5 in the terminal running rostopic_joint.cpp, and the following output will appear in the terminal running nrc_rostopic_joint.cpp.

The robot starts moving, and its position in the Cartesian coordinate system changes to the position sent to the controller. Note: If it does not move, try pressing START.
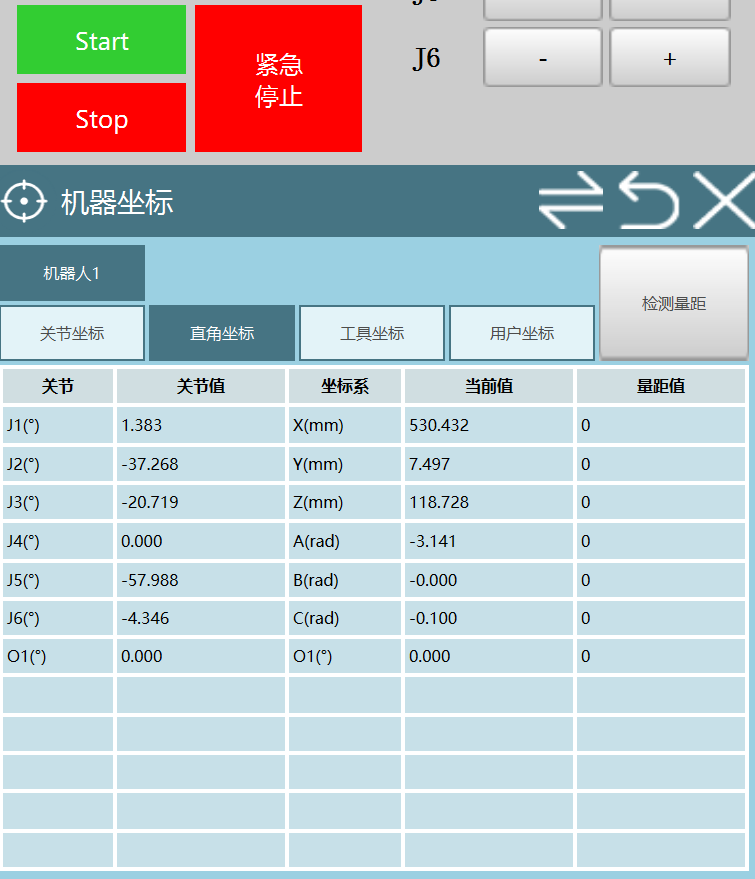
Then enter 6 in the terminal running rostopic_joint.cpp, press START, and the robot will move to the position in case 6.